
 Time to roll up the sleeves and start sanding. Luckily most of the areas could be done with an electric orbital sander or palm sander but there were a few stubborn little areas that had to be done by hand. I'm not sure why some areas had thicker layers of gunk to get off but they did. Those areas I used a heavier coarse of sandpaper 100-150 grade then finished off with something a bit smoother 200-220. Worked out real nice.


Now that we've got the piano sanded down and ready to go, let's have some fun, shall we? I purchased an elegant stencil from Hobby Lobby (using my half price coupon of course), some white craft paint (made for wood) and a cheap roller. I taped my stencil on with some scotch tape and lightly coated my roller with paint. I tested this out and liked the results although I goofed a little and didn't tape off the areas I didn't want to paint so I accidentally got a little extra stencil on there that I didn't want. No Problem-o. I sanded it off and did it all over again. Took like 5 minutes to re-sand it.
 |
| Woops! A little too much there on one side. |
I went through all of the pieces and stenciled more areas on the piano. This piano is a little rough so the stencil will pull your eye away from the imperfections and only see the beauty!
Tricky Tricky!
I had another stencil that I used to add some contrast. Too much of the same stencil isn't always a good thing.
Before staining, I lightly sanded the stencil to remove any imperfections and smooth the edges. I dusted it off with a napkin/cloth and was ready then to move onto the stain. We used a MiniWax stain with dark auburn color. This would be applied right on top of the stencil to give it an antique finish.
It took the stain quite a while to dry since the weather was humid outside and the temperatures were dropping, but we were in no rush so we let the project sit for a couple days. Then we came back with 3 coats of polyurethane using a clean brush. This dried fast! We were able to get all this done in just a couple hours.
Here it is all put back together! We also chose to change out the wooden knobs for a more decorative look.
I ordered some used billiard cloth off ebay to replace that old purple stuff I had ripped out earlier. Cut it to fit and glued it in place!
Hope you enjoyed watching the progress on this project! Enjoy the finished piano below.


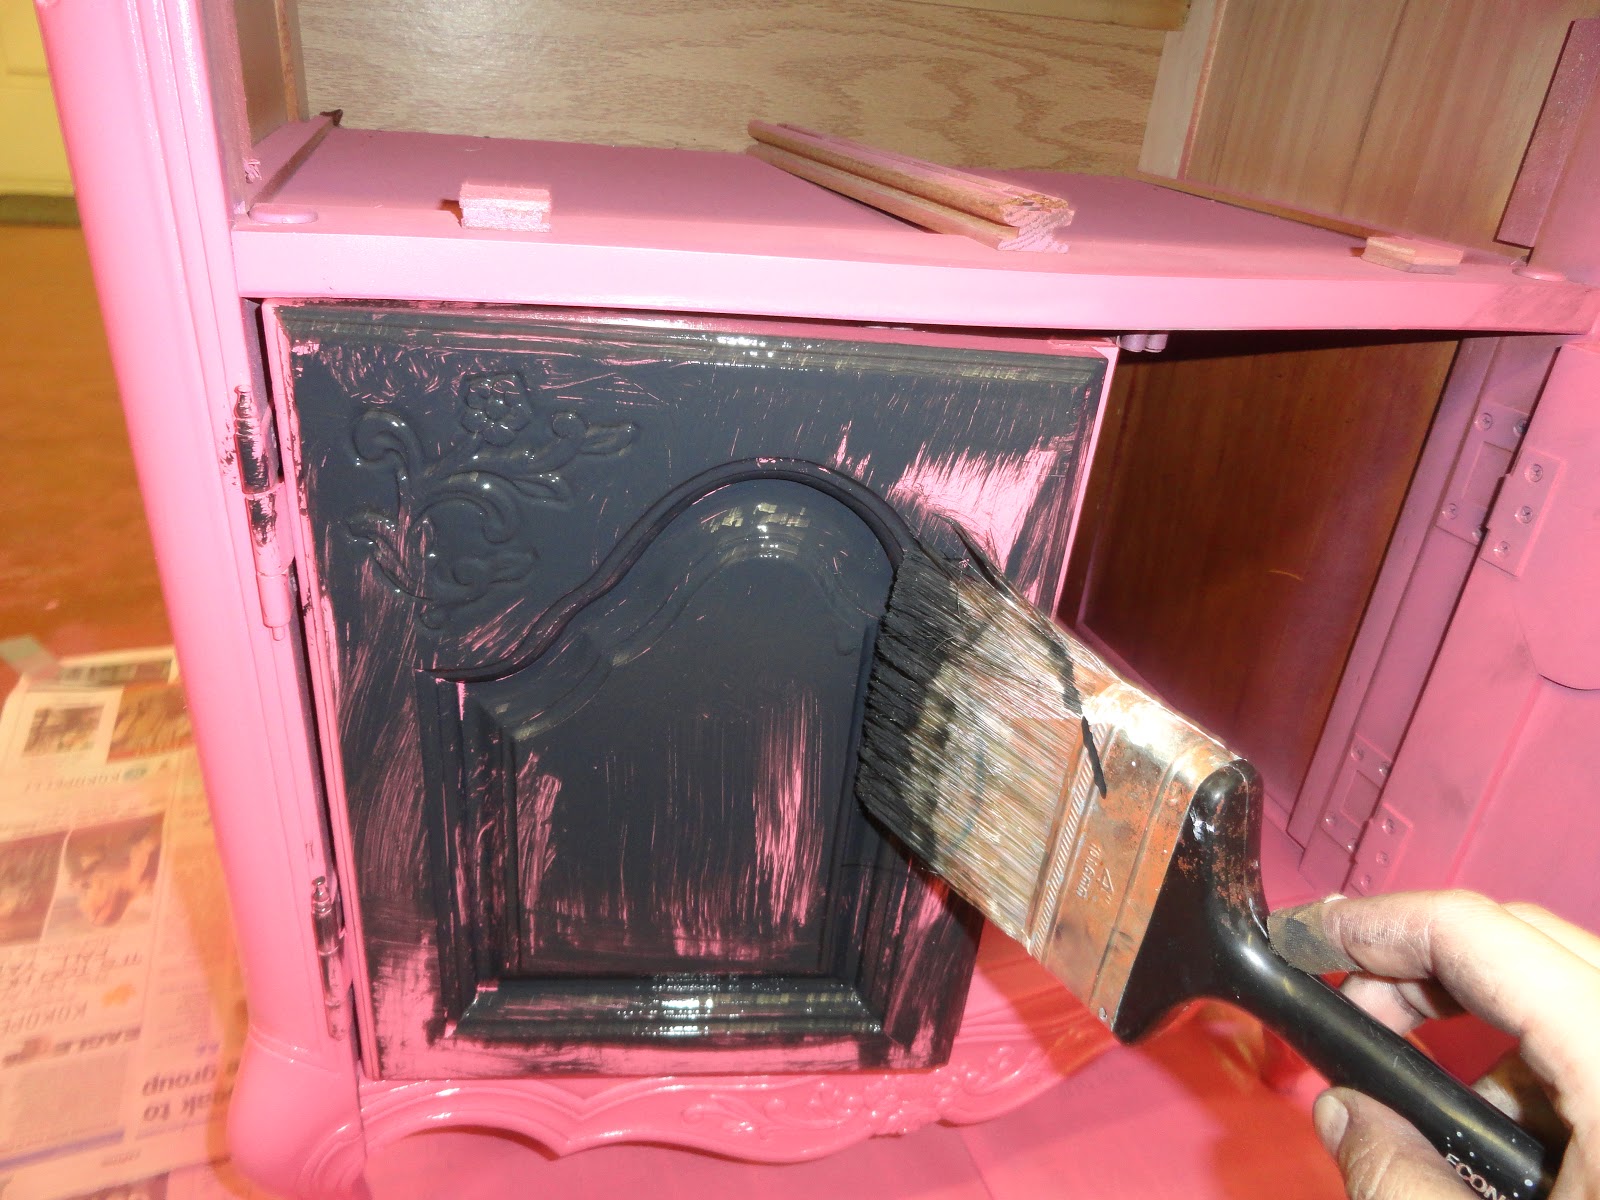
 Using some black paint, I brushed it one and then quickly wiped it off.


